Close
TruthFinder gives people access to a wealth of personal information about almost anyone in the United States for the price of an inexpensive subscription. It gets this information from third-party databases, public records and dark web scans. Yes… the DARK WEB!
TruthFinder even provides information you might not expect to be available publicly, such as dating profiles, Amazon wishlists, possibly relatives, friends and neighbors, usernames, and much more.
Considering it may only take a few “data points” to effectively begin the process of identity theft, this is a potential goldmine for scammers, hackers and stalkers!
TruthFinder not only has this public information about you, but it also acts as a data broker and collects information from its own users. In 2023, TruthFinder experienced a major data breach which exposed data on over 20 million users, including passwords, phone numbers, emails and more.
With this in mind, it’s a good idea to opt-out of not only the public data but also the user data on TruthFinder. The TruthFinder website gives you separate tools to do both. Here’s how…
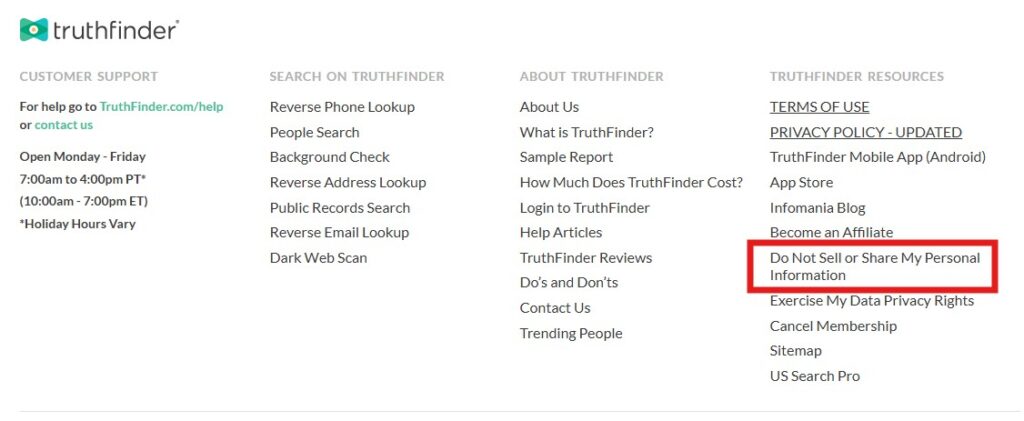
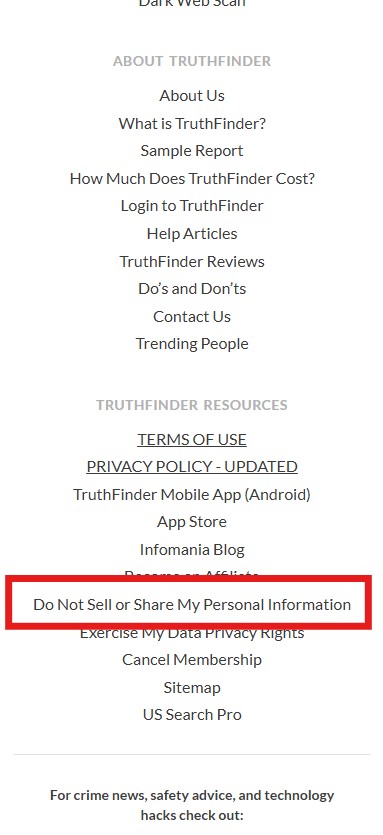
Go to the TruthFinder website at www.truthfinder.com and scroll down to the bottom of the page (the “footer”). There you will click the link “Do Not Sell or Share My Personal Information“.
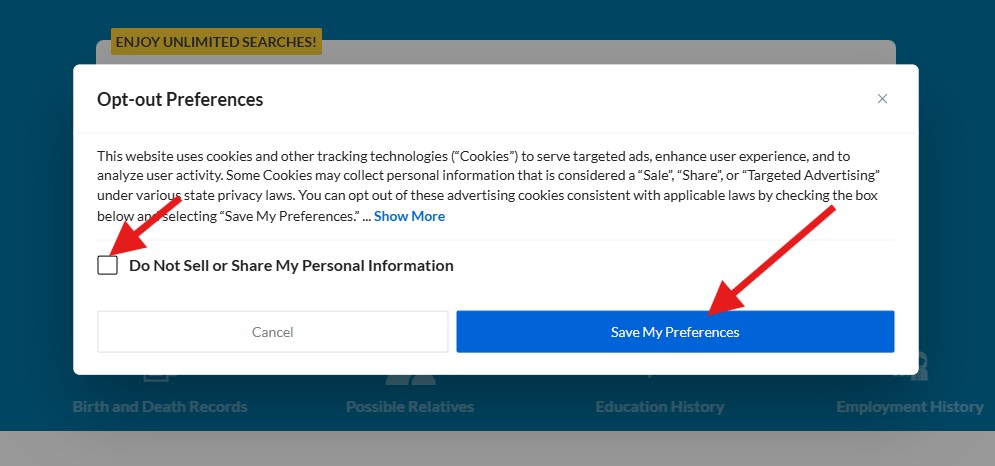
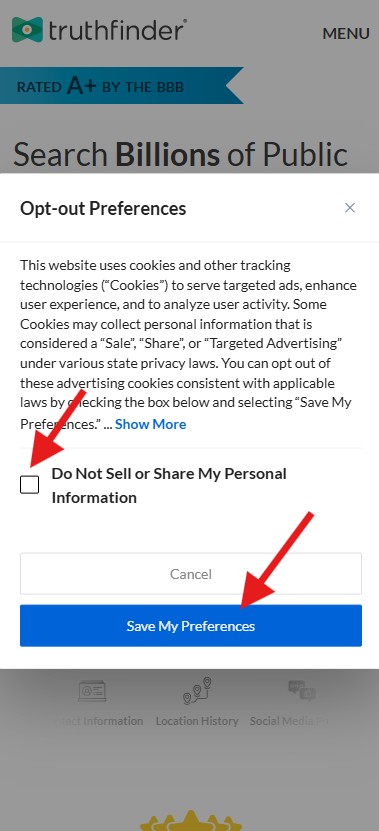
This step is quite simple. You will see a pop-up that lets you indicate your preference for the sharing and sale of information collected from you while using the TruthFinder website. Just check the box and click the “Save My Preferences” button. But note that if you clear your browser cookies in the future, you may need to redo this step if you ever visit the TruthFinder website again! And… read on, because your complete opt-out is not yet complete!
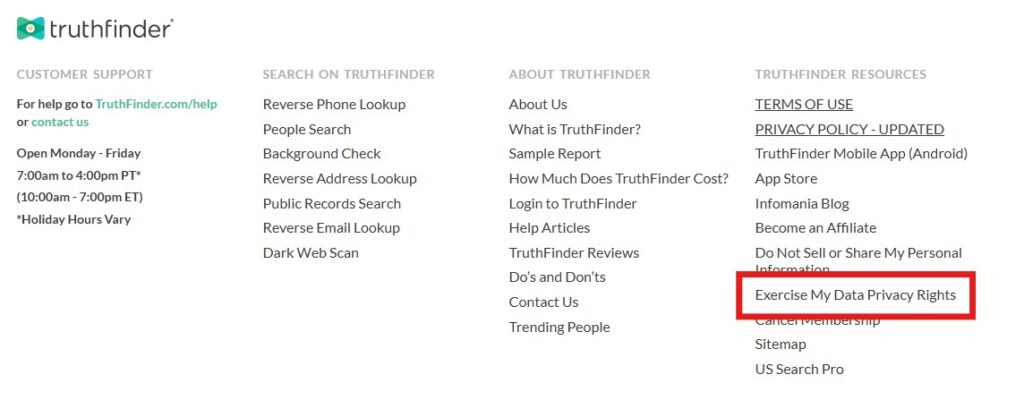
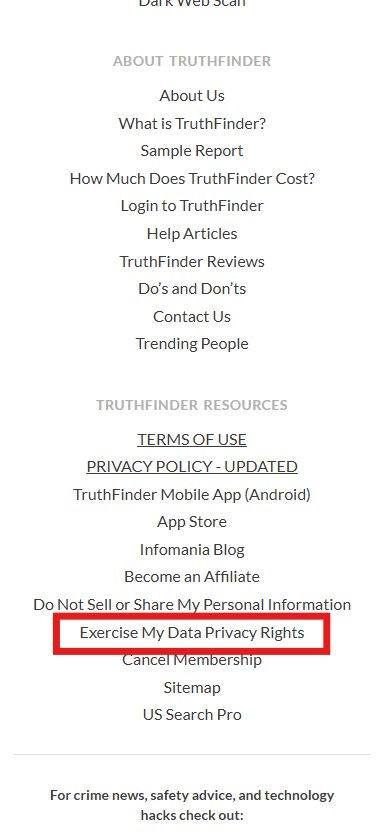
Go back to the home page of the TruthFinder website at www.truthfinder.com and scroll down once again to the bottom of the page (the “footer”). There you will click a different link titled “Exercise My Data Privacy Rights“.
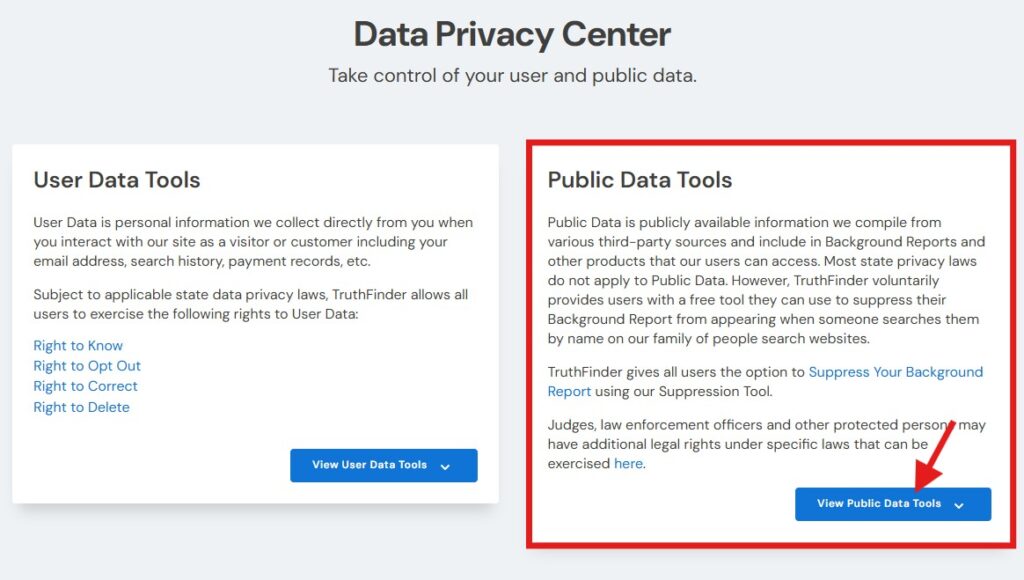
You will now see a page titled “Data Privacy Center” where you will be presented with two options — “User Data Tools” or “Public Data Tools”.
Although User Data Tools may appear to provide the ability to opt-out and delete your information, this option DOES NOT actually remove your public information from the system and does not prevent businesses and individuals from accessing it. It only removes your “user data” from the TruthFinder website — something you already did in Step 2.
Instead, “Public Data Tools” gives you access to the “Suppression Tool” which actually does prevent access to your data, so click “View Public Data Tools“.
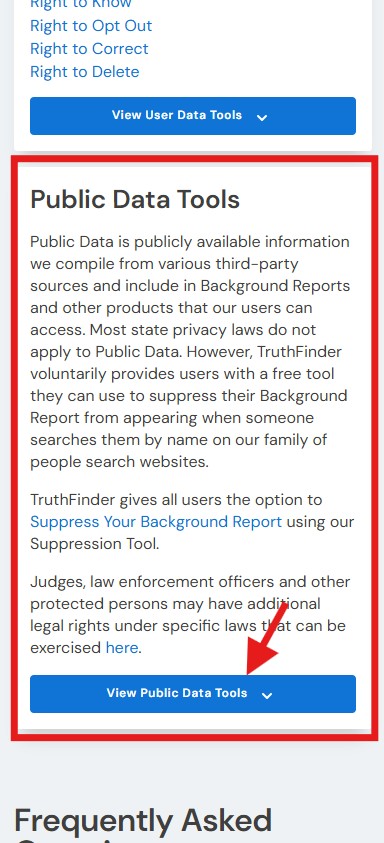
After you have clicked on “View Public Data Tools” a new section will immediately open below it titled “Suppress your Background Report”. Click the button “Manage My Suppression Rules“.
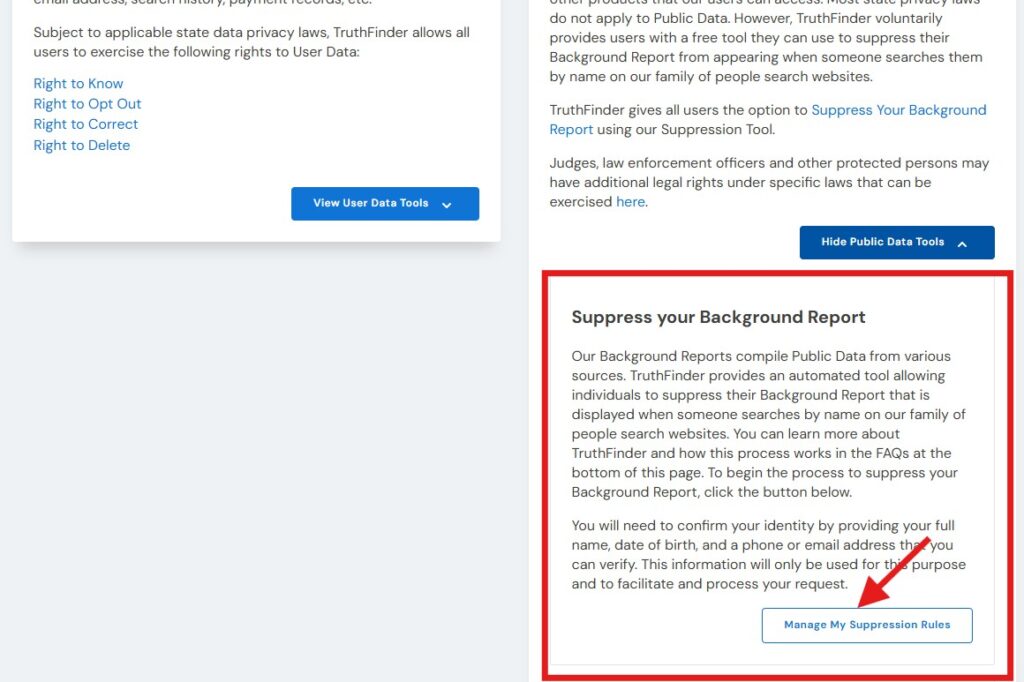

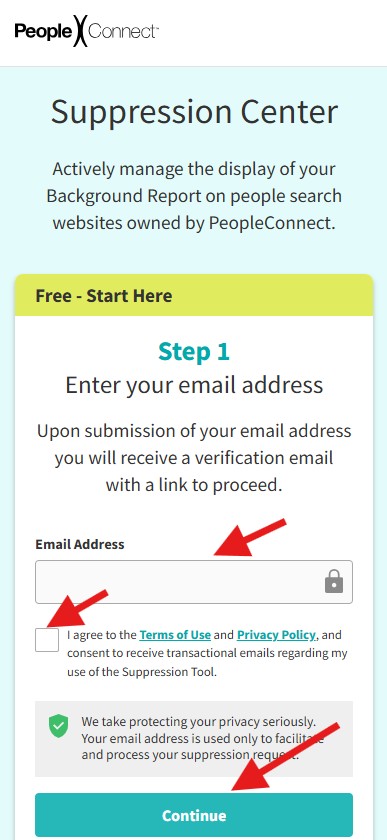
Now you may notice the URL in your browser’s address bar is no longer “intellius.com” but is now “suppression.peopleconnect.us”. Do not be alarmed. “PeopleConnect” is the company that owns the TruthFinder website and service — and also many others. When you use this “Suppression Center” on PeopleConnect you will actually be suppressing access to your personal data on a number of other data broker websites at once!
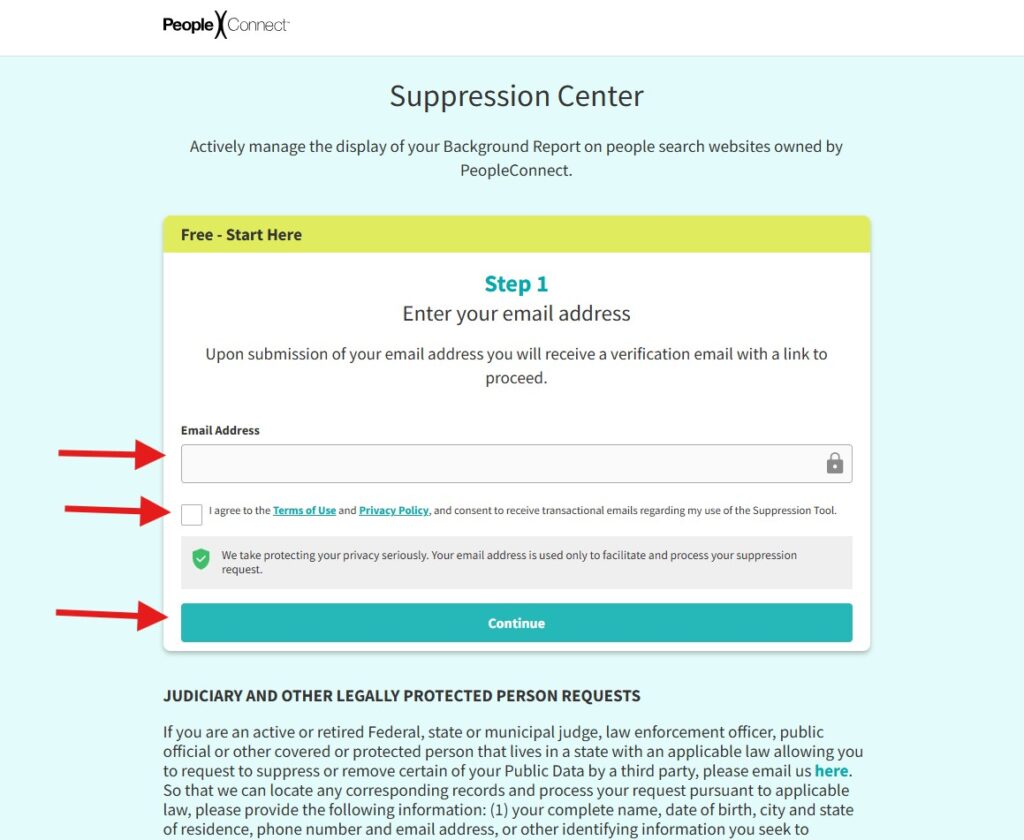
So go ahead and enter your email address, check the box to agree with the Terms of Use and Privacy Policy, and click the Continue button.
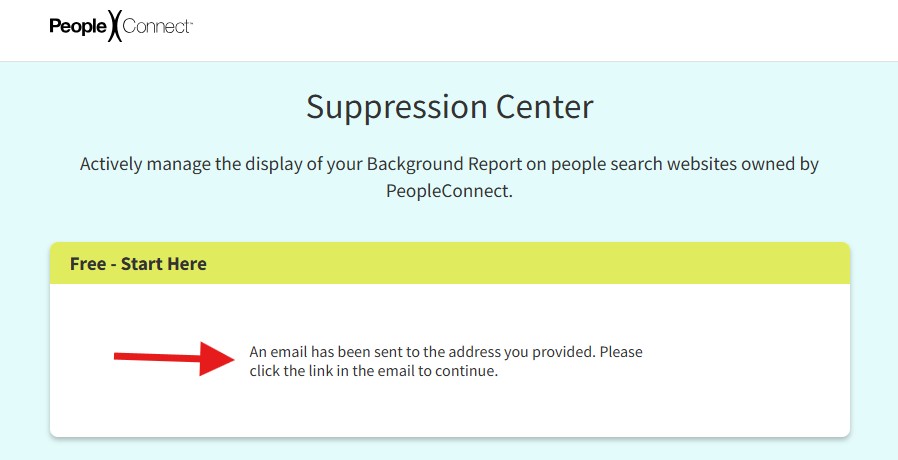
Next, PeopleConnect (TruthFinder) will send an email you the email address you provided in Step 6 to verify it. You will see this notice.

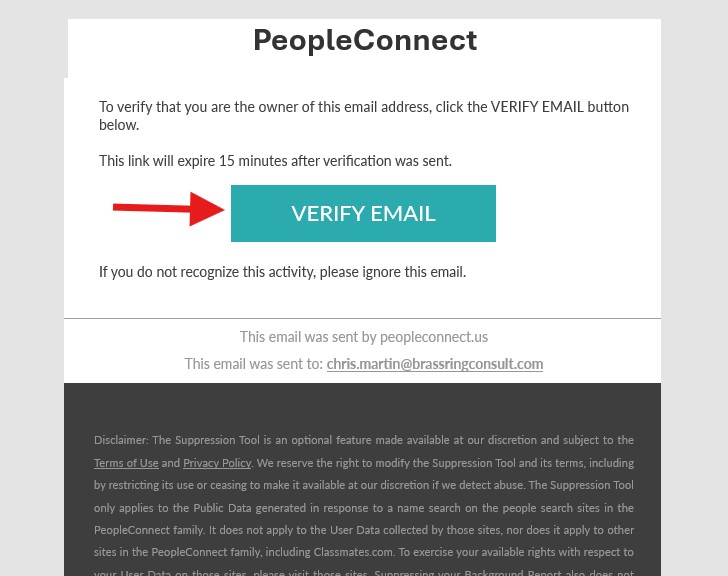
To continue the process, find the email sent by PeopleConnect (TruthFinder), and click link/button found in the email titled “VERIFY EMAIL“.
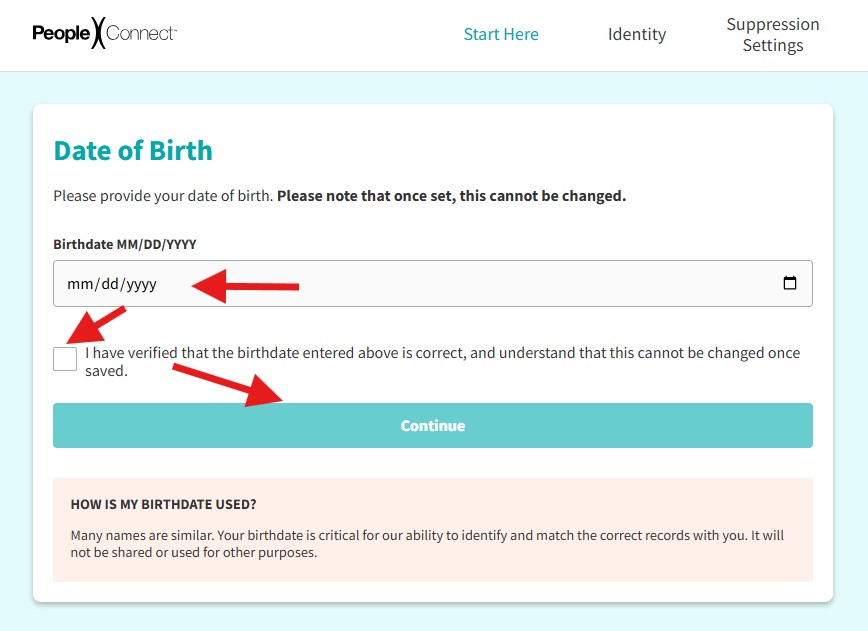
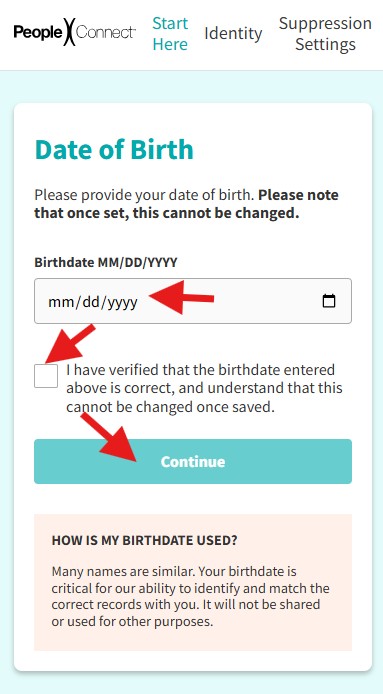
To help PeopleConnect find your records, you will be prompted to enter your date of birth. Then check the box to confirm that the date of birth you entered is correct, and finally, press the Continue button.
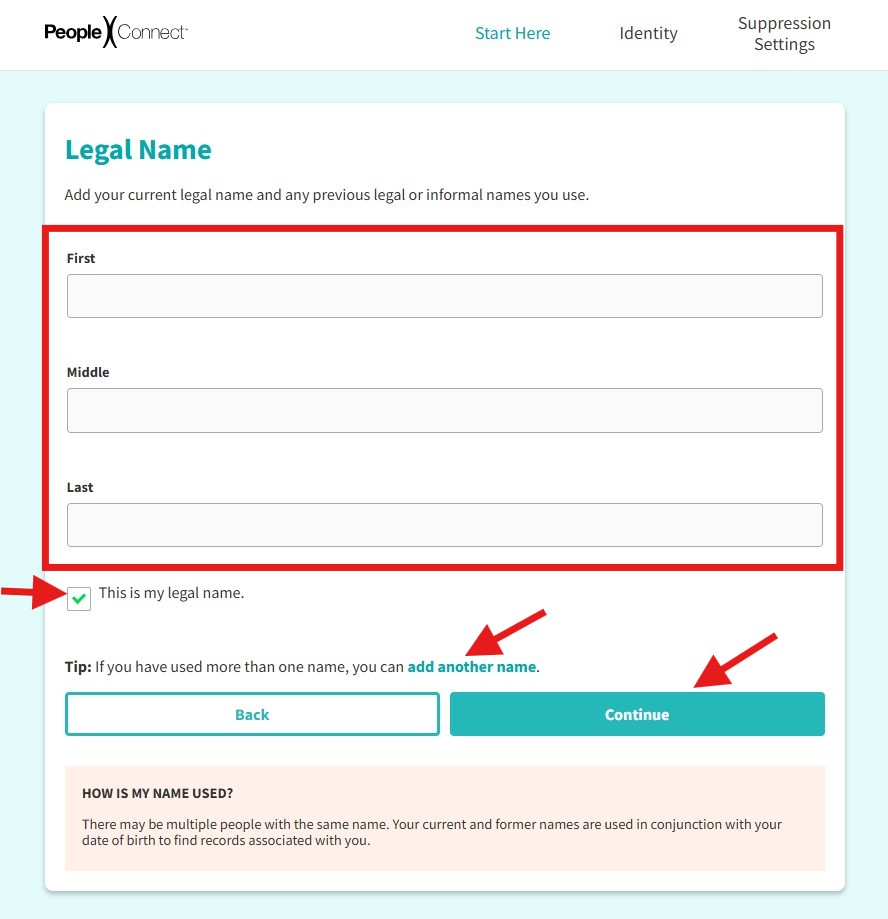
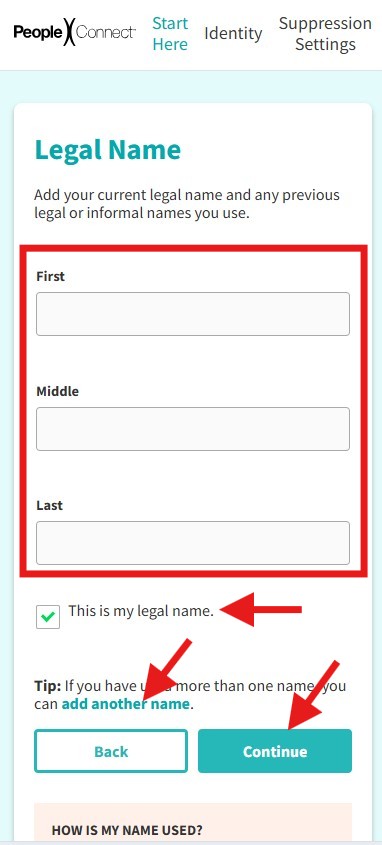
Next, enter your full legal name. If you have used other names in the past — for example, informal names, or maiden name, etc. — then you can add names to the search by clicking the link “add another name“. When you have finished entering your name(s), check the box to confirm the name(s) you entered and then click Continue.
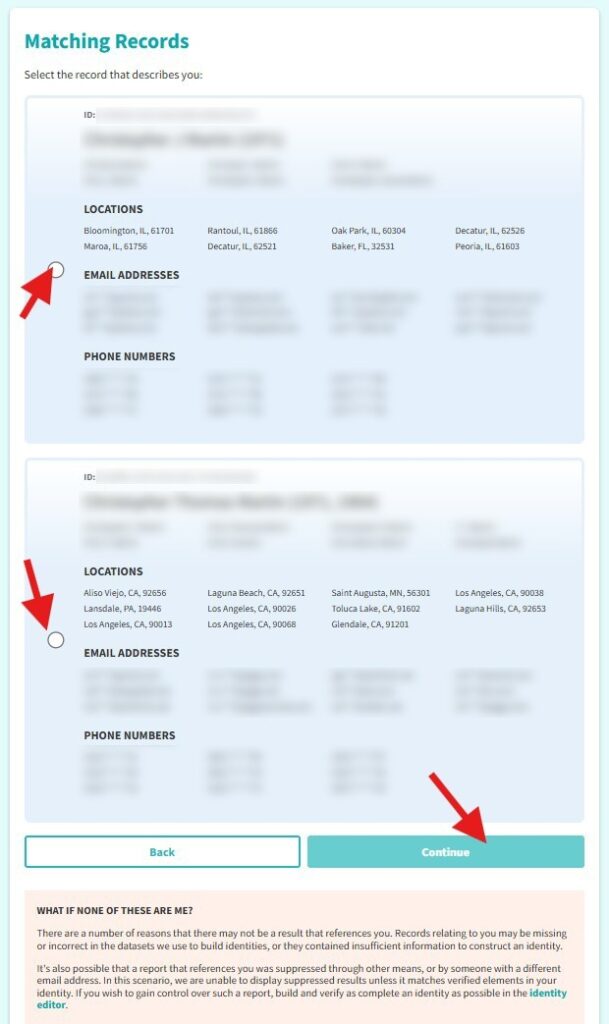
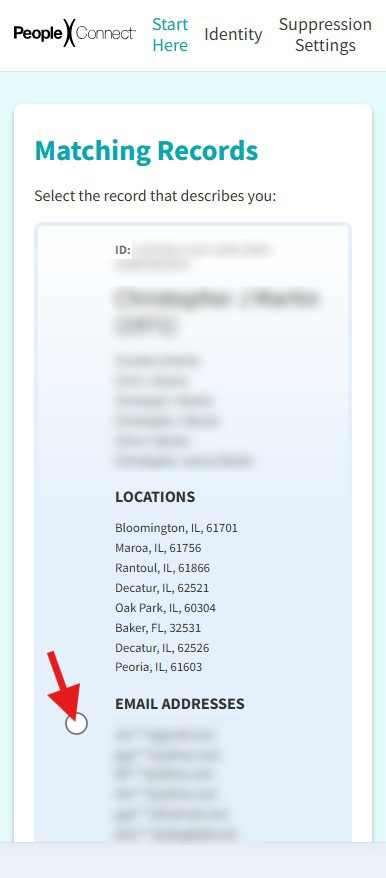
Next, PeopleConnect will provide you with two or more profiles with names similar to yours along with cities, and partial email addresses. Find the one that is yours and click the circle next to it to select it.
Not everything shown will be completely accurate — for example, you might see some cities that you never lived in, or some email addresses that you never used — but if the record is yours then the majority of the details should be familiar to you. Go ahead and select the most accurate record in the list shown to you and then click Continue at the bottom of the form.
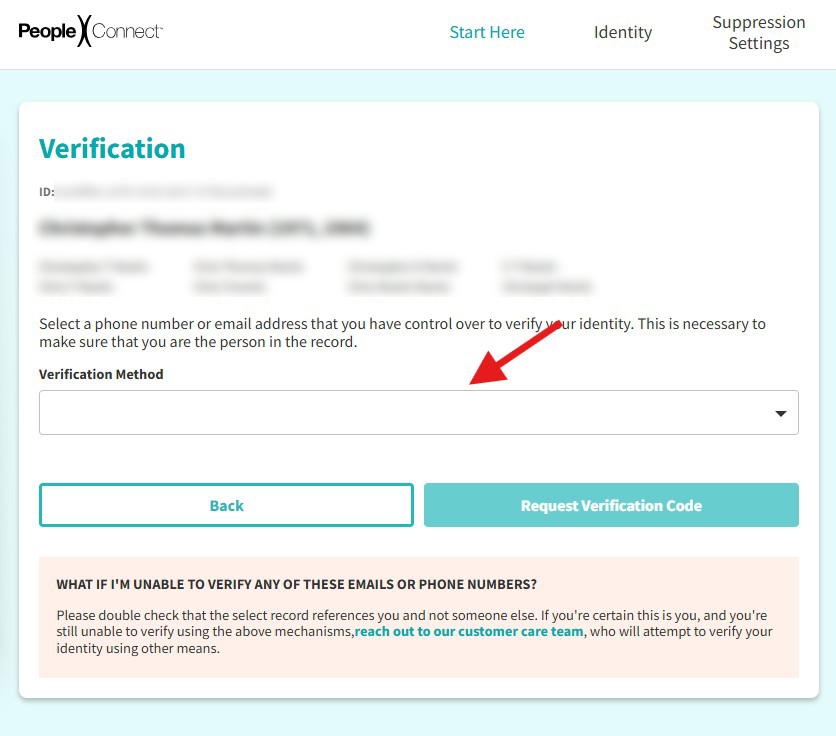
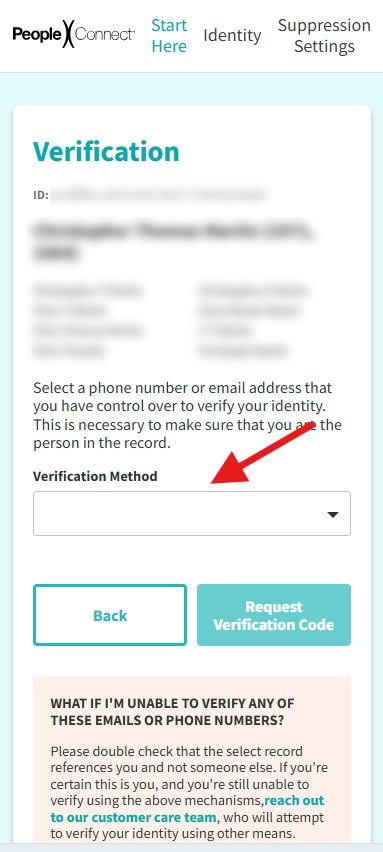
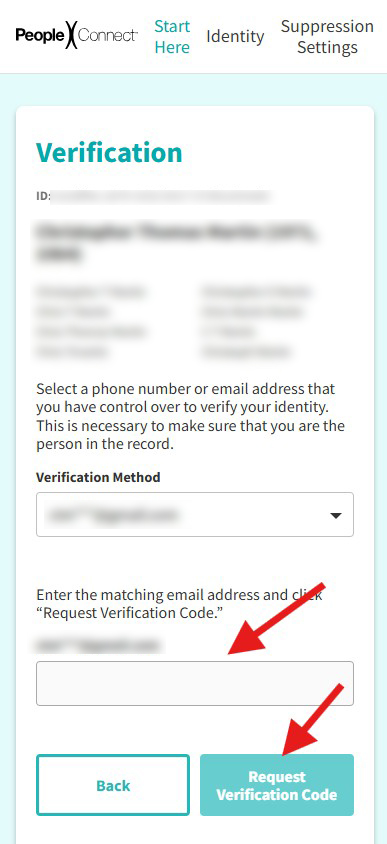
Now comes another verification step. You will need to verify your “ownership” of the record you selected in the previous step by verifying some information in it. To start, click the dropdown box “Verification Method” and select which type of information you want to verify. This could be an email address or a phone number. Be sure it is an email address or phone number you currently have access to, since the system will be sending you a verification code in an upcoming step!
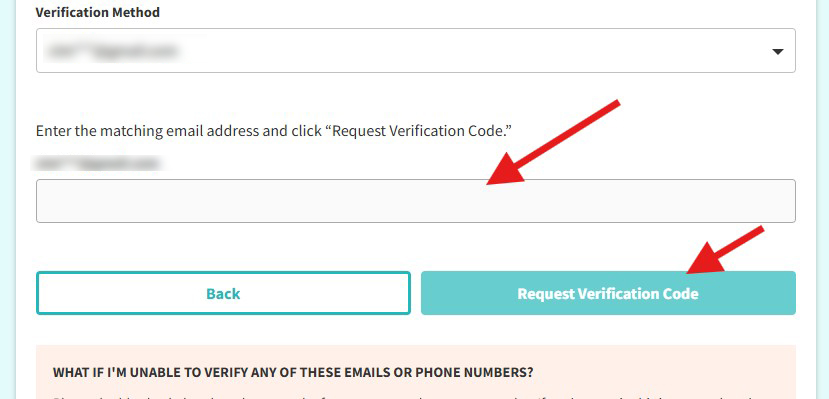
After selecting the verification method, you will be prompted to enter the exact phone number or email address you chose to verify, and then click Request Verification Code. After you press that button, check your phone or email (depending on which one you chose to verify), and you will find a text or email containing a verification code.
If you will be receiving an email, the sender address will be “[email protected]”.
Enter that code in the form you see next.
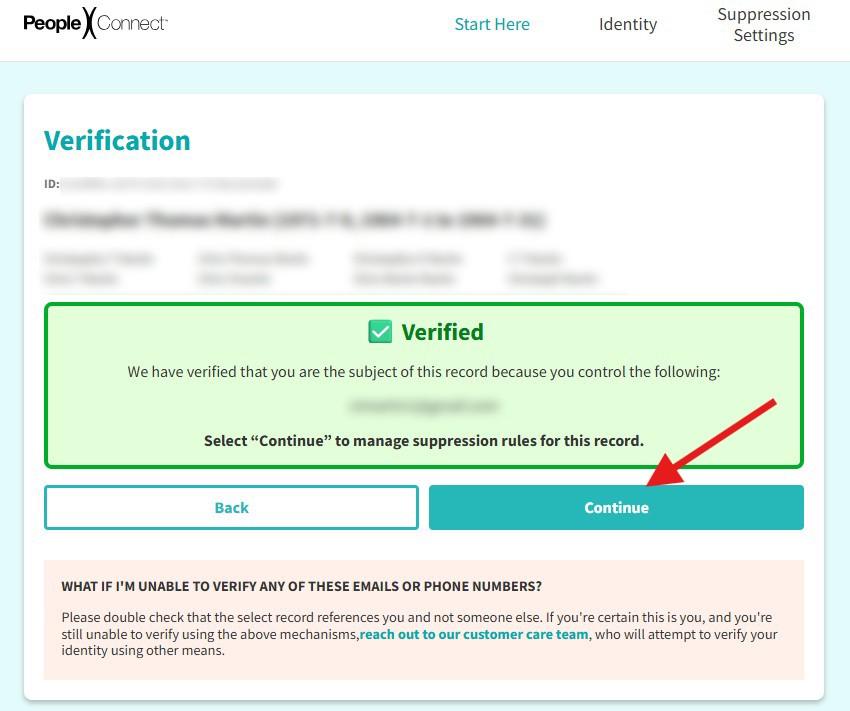
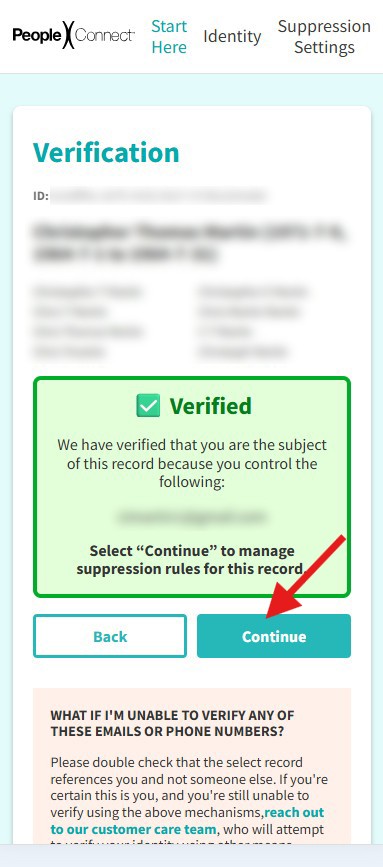
If the verification was successful, you will see a notice like the following. Click Continue to set the “Suppression” status of your record (you will be able to choose whether to suppress your data or allow it to be public).
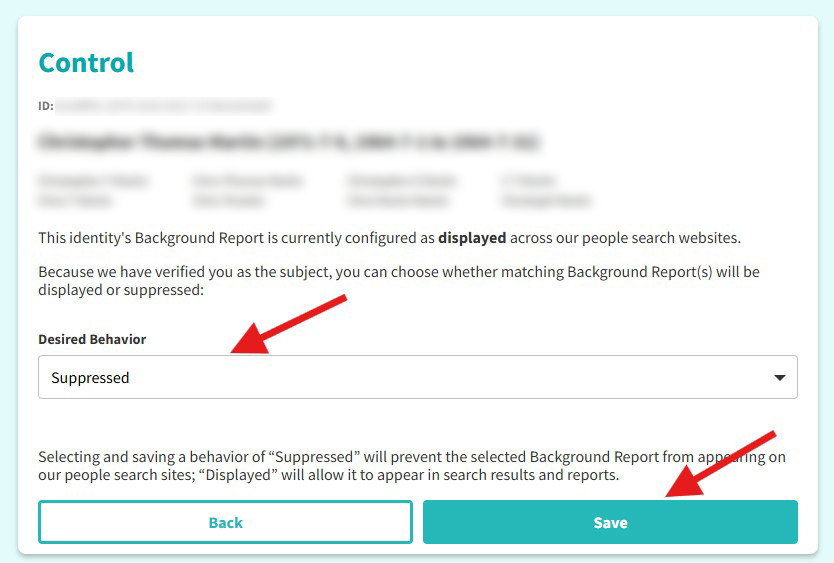
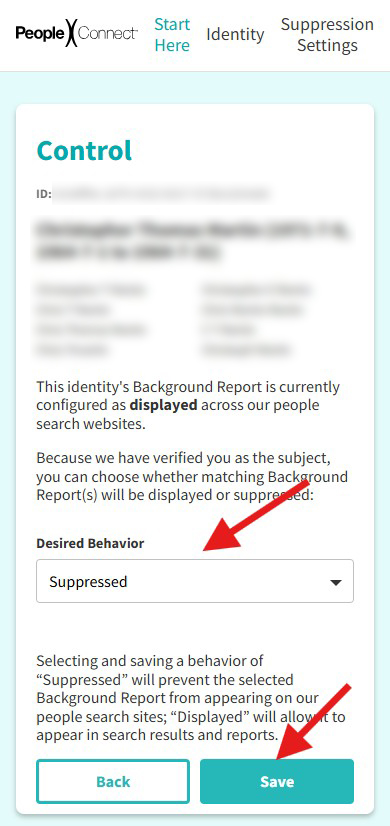
Finally, you will now be able to select whether you want your data “suppressed” or “displayed” (publicly available). In the dropdown box titled Desired Behavior, select “Suppressed” and click the SAVE button to finish the process!
If you encounter any errors along the way: (a) make sure your have entered accurate information, such as the correct verification code, and (b) try reloading the page… if that doesn’t work, you should start the process again from Step 1 and you should find that most of the information you entered is still in place, making it easy to return to where you left off.